使用Cloudflare Workers自定义CDN缓存策略优化WordPress性能
Cloudflare一直是我非常信赖的CDN服务商,其免费套餐就能提供令人满意的服务。尽管近期国内访问速度有所下降,但相较于没有CDN的情况,Cloudflare依然具有显著优势。然而,免费版Cloudflare CDN存在一个致命缺陷——无法根据用户cookie区分访客,导致无法针对登录或评论过的用户提供差异化缓存策略。更令人无法接受的是,已登录或评论用户的信息会被缓存,这是我最终选择放弃Cloudflare的重要原因之一。
随着Cloudflare Workers的推出,这一限制迎刃而解。通过编写自定义缓存策略,我们可以充分发挥Workers的强大功能。关于Cloudflare Workers的介绍,读者可以通过搜索引擎自行了解。本文将重点介绍如何利用Cloudflare官方开发的脚本实现自定义缓存策略。
### Edge Cache HTML脚本

Cloudflare官方曾推出一款名为edge-cache-html的WordPress插件,但由于可能影响付费套餐销售,该项目已近两年未更新。尽管该脚本无法直接在WordPress环境下运行,且缺少URL路径规则,但经过修改后,我们可以增加路径排除功能,并支持WordPress环境下的缓存。
前期操作步骤可参考《WordPress利用Cloudflare Workers缓存博客HTML网页》,该文档详细介绍了操作流程,但原博主未能成功缓存。以下是经过修改后的脚本:
“`javascript
// IMPORTANT: Either A Key/Value Namespace must be bound to this worker script // using the variable name EDGE_CACHE. or the API parameters below should be // configured. KV is recommended if possible since it can purge just the HTML // instead of the full cache.
// Default cookie prefixes for bypass
const DEFAULT_BYPASS_COOKIES = [“wp-“, “wordpress”, “comment_”, “woocommerce_”];
// URL paths to bypass the cache (each pattern is a regex)
const BYPASS_URL_PATTERNS = [“/wp-admin/.*”, “/wp-adminlogin/.*/”];
/**
* Main worker entry point.
*/
addEventListener(“fetch”, event => {
const request = event.request;
let upstreamCache = request.headers.get(‘x-HTML-Edge-Cache’);
// Only process requests if KV store is set up and there is no // HTML edge cache in front of this worker (only the outermost cache // should handle HTML caching in case there are varying levels of support).
let configured = false;
if (typeof EDGE_CACHE !== ‘undefined’) {
configured = true;
} else if (CLOUDFLARE_API.email.length && CLOUDFLARE_API.key.length && CLOUDFLARE_API.zone.length) {
configured = true;
}
// Bypass processing of image requests (for everything except Firefox which doesn’t use image/*)
const accept = request.headers.get(‘Accept’);
let isImage = false;
if (accept && (accept.indexOf(‘image/*’) !== -1)) {
isImage = true;
}
if (configured && !isImage && upstreamCache === null) {
event.passThroughOnException();
event.respondWith(processRequest(request, event));
}
});
/**
* Process every request coming through to add the edge-cache header, * watch for purge responses and possibly cache HTML GET requests.
* * @param {Request} originalRequest – Original request
* * @param {Event} event – Original event (for additional async waiting)
*/
async function processRequest(originalRequest, event) {
let cfCacheStatus = null;
const accept = originalRequest.headers.get(‘Accept’);
const isHTML = (accept && accept.indexOf(‘text/html’) >= 0);
let {response, cacheVer, status, bypassCache} = await getCachedResponse(originalRequest);
if (response === null) {
// Clone the request, add the edge-cache header and send it through.
let request = new Request(originalRequest);
request.headers.set(‘x-HTML-Edge-Cache’, ‘supports=cache|purgeall|bypass-cookies’);
response = await fetch(request);
if (response) {
const options = getResponseOptions(response);
if (options && options.purge) {
await purgeCache(cacheVer, event);
status += ‘, Purged’;
}
bypassCache = bypassCache || shouldBypassEdgeCache(request, response);
if ((!options || options.cache) && isHTML && originalRequest.method === ‘GET’ && response.status === 200 && !bypassCache) {
status += await cacheResponse(cacheVer, originalRequest, response, event);
}
}
} else {
// If the origin didn’t send the control header we will send the cached response but update // the cached copy asynchronously (stale-while-revalidate). This commonly happens with // a server-side disk cache that serves the HTML directly from disk.
cfCacheStatus = ‘HIT’;
if (originalRequest.method === ‘GET’ && response.status === 200 && isHTML) {
bypassCache = bypassCache || shouldBypassEdgeCache(originalRequest, response);
if (!bypassCache) {
const options = getResponseOptions(response);
if (!options) {
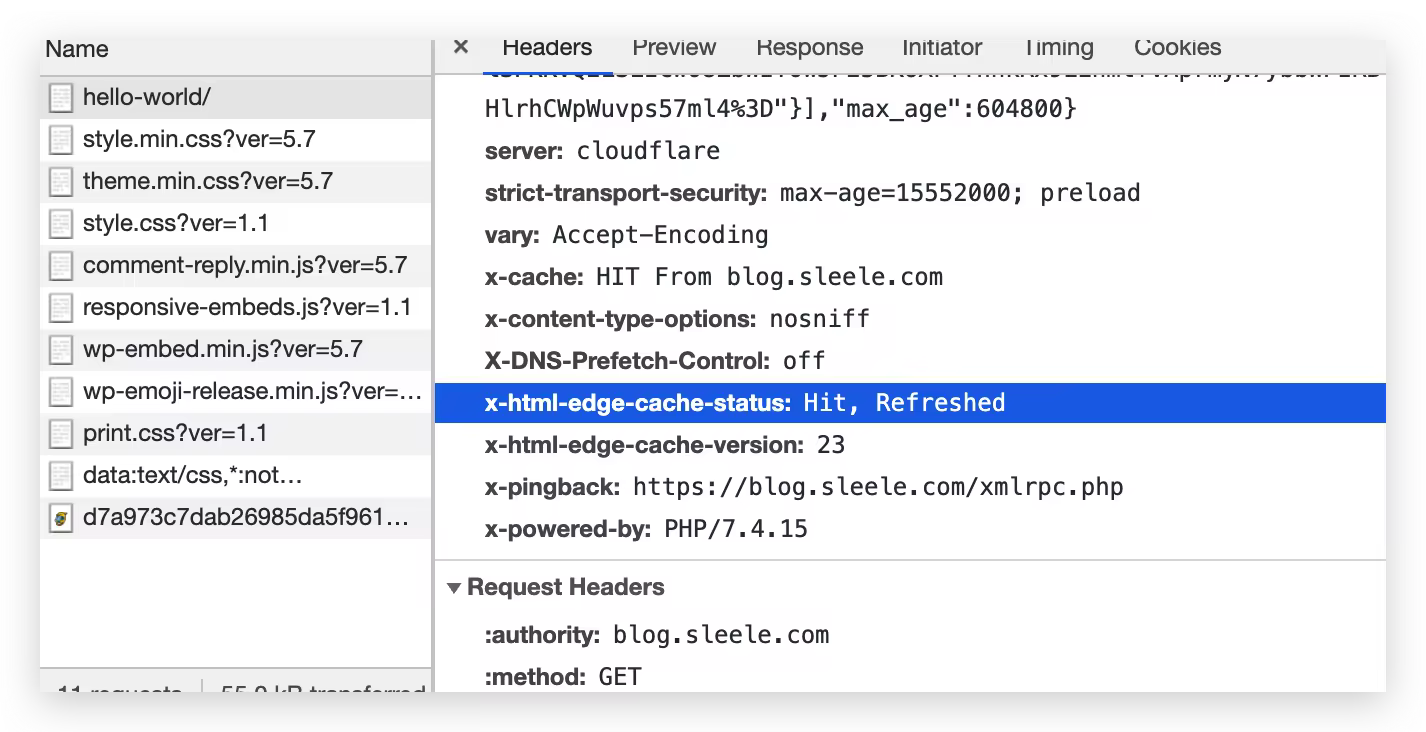
status += ‘, Refreshed’;
event.waitUntil(updateCache(originalRequest, cacheVer, event));
}
}
}
}
if (response && status !== null && originalRequest.method === ‘GET’ && response.status === 200 && isHTML) {
response = new Response(response.body, response);
response.headers.set(‘x-HTML-Edge-Cache-Status’, status);
if (cacheVer !== null) {
response.headers.set(‘x-HTML-Edge-Cache-Version’, cacheVer.toString());
}
if (cfCacheStatus) {
response.headers.set(‘CF-Cache-Status’, cfCacheStatus);
}
}
return response;
}
// Additional functions remain unchanged…
“`
### 部署与配置
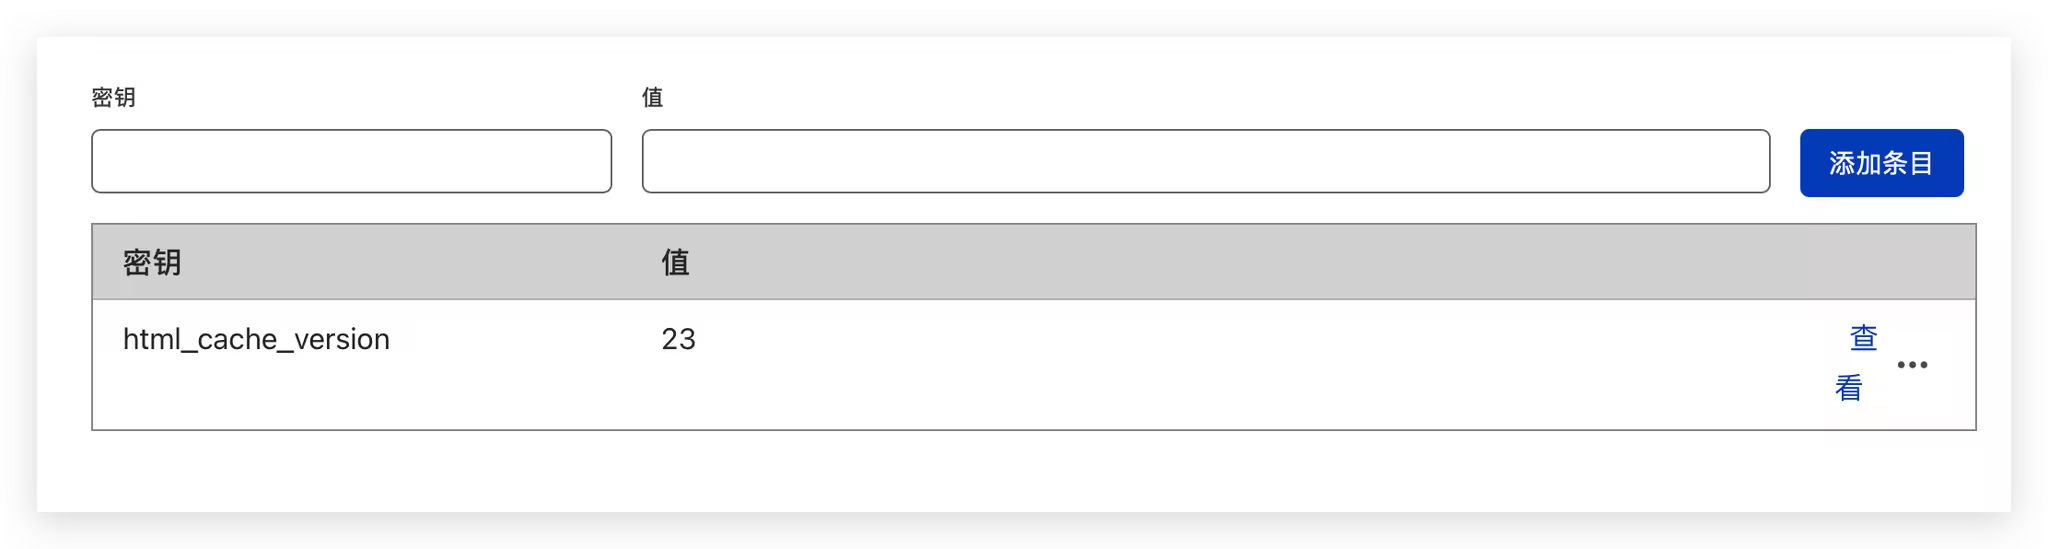
在Worker上部署好脚本后,需要添加域名进行接入。对于使用CNAME接入Cloudflare的用户,可以参考《针对使用Cloudflare CDN国内网站的速度优化方案》一文。安装WordPress Page Cache Plugin非常简单,只需在WordPress中上传cloudflare-page-cache插件即可。该插件无需图形界面和任何设置,每次触发缓存更新策略时会自动更新html_cache_version。
值得注意的是,目前该插件存在一个缺点:触发缓存更新后,所有页面缓存都会失效。不过,后续可以借助NGINX Cache来弥补这一不足,影响并不大。
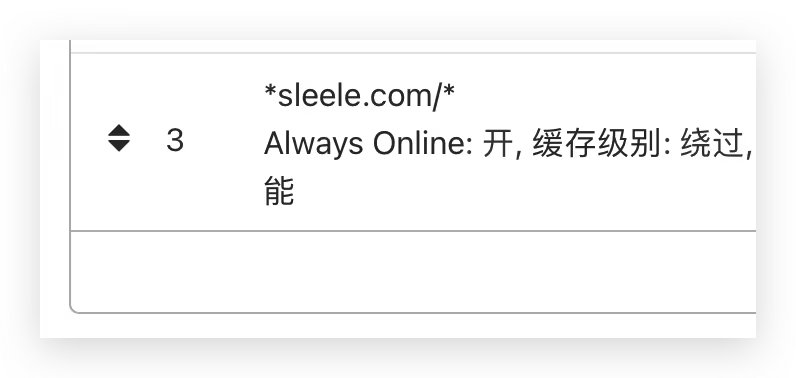
### Cloudflare Page Rule设置
需要禁止Cloudflare Page Rule缓存,直接在Cloudflare控制台进行设置。如果允许Cloudflare Page Rule缓存所有内容,用户信息将被缓存,而我们现在所有的缓存规则都交给Edge Cache HTML处理。
### 一件部署插件
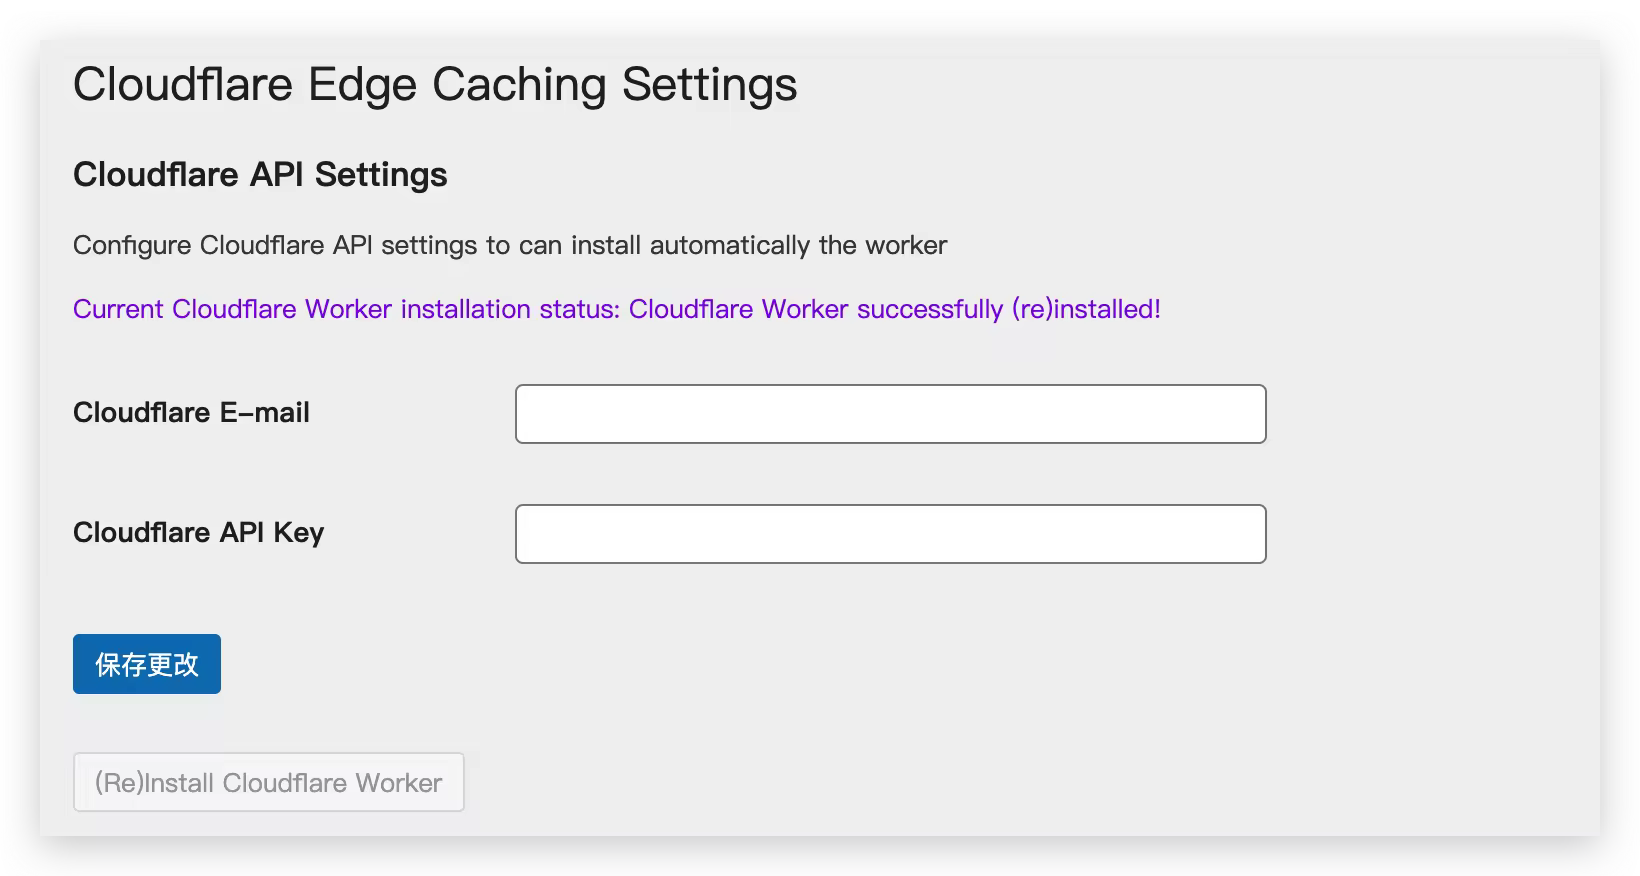
如果上述操作对您来说仍有难度,可以考虑使用Edge Cache HTML via Cloudflare Workers插件。我对这款插件进行了修改,添加了自定义脚本(edge-cache-html-cloudflare-workers下载),使其能够正常缓存。只需填写Cloudflare E-mail和API Key,保存并安装即可。之后添加router和Workers KV即可使用。
### 后记
由于我已经迁移到国内服务器,目前不再使用Cloudflare。实际上,如果缓存设置得当,效果相当显著,我当时的TTFB(Time to First Byte)约为160ms。如果你的服务器不在国内,强烈建议使用Cloudflare Edge Cache HTML缓存你的网站。
### 参考文章
– 《WordPress利用Cloudflare Workers缓存博客HTML网页》
– cloudflare worker-examples
– Edge Cache HTML
– Fake and free Bypass-on-Cookie, with CloudFlare edge cache workers for WordPress
– Cloudflare WordPress Edge Caching via Workers
相关推荐
-
All in One WP Security Firewall插件拦截垃圾评论详细设置教程
WordPress作为全球最受欢迎的博客平台,其强大的功能背后却隐藏着垃圾评论这一严峻问题。作为内容创作的重要载体,WordPress博客往往吸引着大量恶意评论,这些无用的垃圾信息…
-
如何修复WordPress“缺少临时文件夹”错误
错误类型: WP内部错误 错误名称: 缺少临时文件夹 英文名称: Missing a Temporary Folder 错误描述: 该错误由于您的WordPress托…
-
WordPress脚本异步加载与延迟优化教程
WordPress页面渲染过程中,系统会自动加载一系列外部JavaScript资源,这些资源既包括WordPress自带的标准化脚本,也涵盖了通过wp_enqueue_script…
-
WooCommerce订单导出技巧:高效管理在线业务数据
管理维护在线业务是一项复杂而持续的挑战。除了日常运营的繁琐工作外,如何在满足客户需求的同时保持竞争优势,已成为许多企业面临的巨大压力。例如运输限制、订单导出难题等,都是在线商家必须…
-
修复WordPress缓存验证器警告提升网站速度
您是否在WordPress网站的性能测试中反复遇到”指定缓存验证器(Specify a Cache Validator)”的警告?这一常见问题通常源于HTT…
-
使用WordPress打造高流量美食博客攻略
食物是我们生活的核心,无论你是否意识到这一点。有些人将食物视为维持生命的能量来源,而另一些人则将其当作艺术形式来展现。如果你属于后者,并渴望创建一个美食博客来分享你的热情,那么Wo…
-
如何修复DNS_PROBE_FINISHED_BAD_CONFIG错误代码
错误类型: 服务器错误 错误名称: DNS探针完成错误配置 英文名称: DNS_PROBE_FINISHED_BAD_CONFIG 错误描述: DNS_PROBE_F…
-
WordPress写作必备键盘快捷键大全
在WordPress的世界里,效率是创造力的加速器。想象一下,您无需频繁切换手部操作,只需轻敲键盘就能完成文本选择、格式调整和评论管理——这正是WordPress键盘快捷键带来的革…
-
WordPress评论懒加载实现方法与优化技巧
WordPress自带的评论系统为博客互动提供了便捷的交流平台,您可以根据需求灵活开启或关闭站内评论功能,甚至针对单篇文章进行独立设置。当文章积累大量评论时,用户往往需要滚动较长距…
-
如何使用Gatsby为WordPress生成静态网站
典型的动态网站(例如基于 WordPress 的网站)如何工作?当访问者在浏览器上输入URL或通过链接访问您的网站时,会向您的Web服务器发送请求。 服务器通过必要的数据库查询收集…